Member-only story
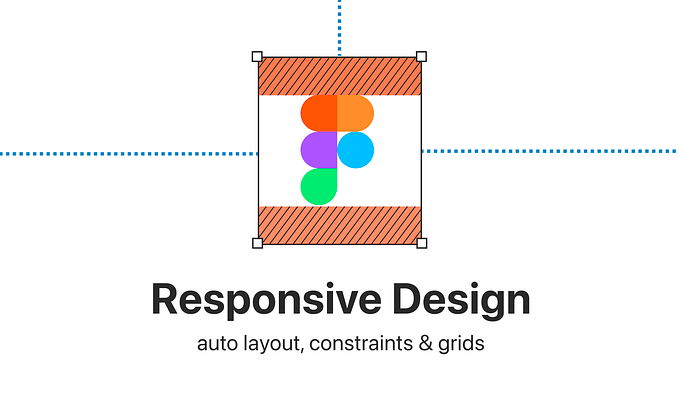
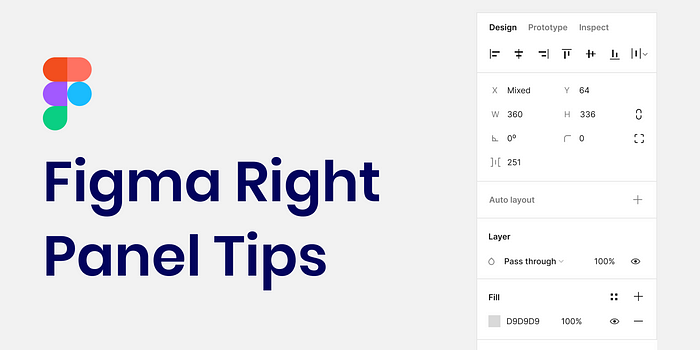
Mastering the Right Panel: Great Figma Tips and Tricks for Every Product Designer
Take Control of Figma’s Right Panel and streamline Your Design Process with These Essential Techniques
One of the most joyful things I like to do when working in Figma is to discover various options to work more effectively with it.
In this article, I will share some Figma tips that every product designer should know to work more efficiently with the Figma right menu (the formal name is the properties menu) and enhance their Figma design skills using this powerful design tool.
These tips are easy to learn and implement, requiring minimal effort and time while significantly enhancing your Figma workflow. So let’s dive in and explore how to unlock your full potential with Figma’s right panel.
1. Relative calculation sizes
I believe you know that you can select an object and change its size using addition, subtraction, multiplication, or division. (The input also serves as a calculator).
The great thing is that they will change relatively if you select two objects and change their sizes using addition, subtraction, multiplication, or division.