Basics of generating images using AI

Artificial Intelligence (AI) has revolutionised the way we create and consume digital art. With AI-powered image generation tools becoming increasingly accessible, artists and designers can now effortlessly generate stunning images that were once thought to be the exclusive domain of skilled human creators.
But the ones in the grind know how tedious it could be to generate AI art, if you don’t know how to use the tools right.
In this blog post, we’ll share five essential tips and tricks to help you generate breathtaking AI-generated images.
First things first : Stable diffusion Environment setup
For better learning I recommend you to install stable diffusion on your machine (for free) by following this guide or tutorial video mentioned in my previous article.
If you prefer to learn from video tutorial, here is my same text guide on youtube :
Alright, let’s get started now, Today we will be making some Pikachus!
Tip 1: Understand what your primary model is trained on
Before diving into the world of AI-generated art, it’s crucial to understand the underlying AI model and the dataset it’s been trained on. Different models are trained on diverse datasets, which directly impact the output they generate. By understanding the model’s training data, you can better predict the type of images it will produce and determine if it’s suitable for your creative vision.
Also, you will be able to quickly understand if you need to create your art using text-to-image or image-to-image.
I am using protogen-infinity with my stable diffusion UI, you can get it here

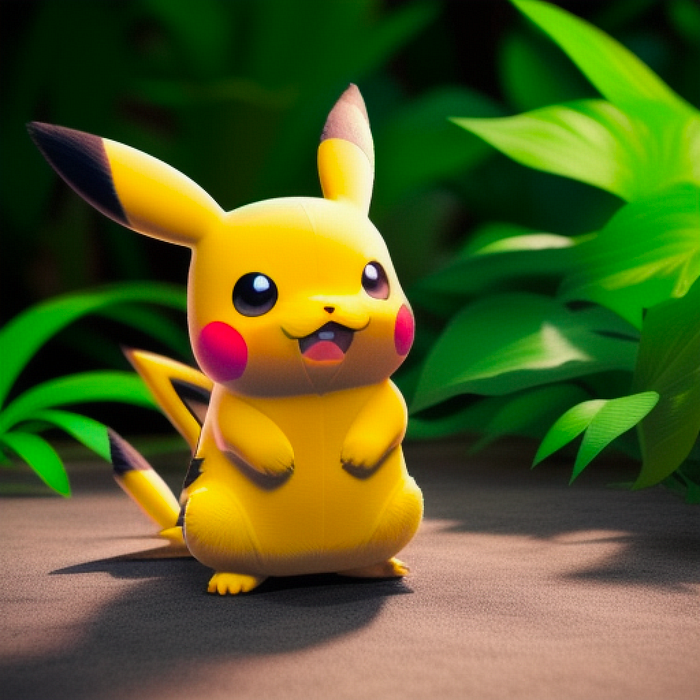
Now as you can see, this model identifies pikachu, like all hands, legs, face are of correct number and in almost right proportion, there are some deformations and glitches, those are fine for now. Now that we know our SD model can create Pikachu from text-to-image, we will continue on that path, otherwise we would had to switch to image-to-image generation.
Tip 2: Experiment with refined prompts
The text prompts you provide to your AI tool are the guiding force behind the generated images. To achieve the best results, experiment with various prompt variations and phrasings. Try using synonyms, rearranging words, or adding more descriptive terms to your prompts. This experimentation will help you discover the most effective wording to generate the desired output.
In addition to the improved text prompt, it’s also important to add a negative prompt, containing set of instructions which you definitely don’t want in your art composition, something like this
negative prompt : bad eyes, blurry eyes, [[disfigured arms]], latex ,[[Deformed]], blurry, bad anatomy, crossed eyes, poorly drawn face, mutation, mutated, [[extra limb]], ugly, poorly drawn hands, missing limb, blurry, floating limbs, disconnected limbs, malformed hands, blur, out of focus, long neck, long body, ((((mutated hands and fingers)))), (((out of frame))), (((signature))), (((signatures))) blender, doll, cropped, low-res, close-up, poorly-drawn face, out of frame double, two heads, blurred, ugly, [[disfigured]], too many fingers, repetitive, black and white, grainy, extra limbs, bad anatomy
As you can see, some terms are enclosed in double brackets, this is to emphasise that particular term in the prompt, as text prompts can be long, these brackets make sure AI doesn’t miss out on the primary needs of your composition.
You can find ideas for prompts from thrid party tools like lexica, or leaonardoai, just checkout images generated by other artists on these platforms and create your own prompts by picking and choosing the art styles you love.
Tip 3: Adjust AI parameters for better results
Most AI image generation tools offer adjustable parameters like CFG/Guidance scale, Sampling method, Sampling Steps and other settings that can impact the final output. To generate higher-quality images, fine-tune these settings based on your creative needs.
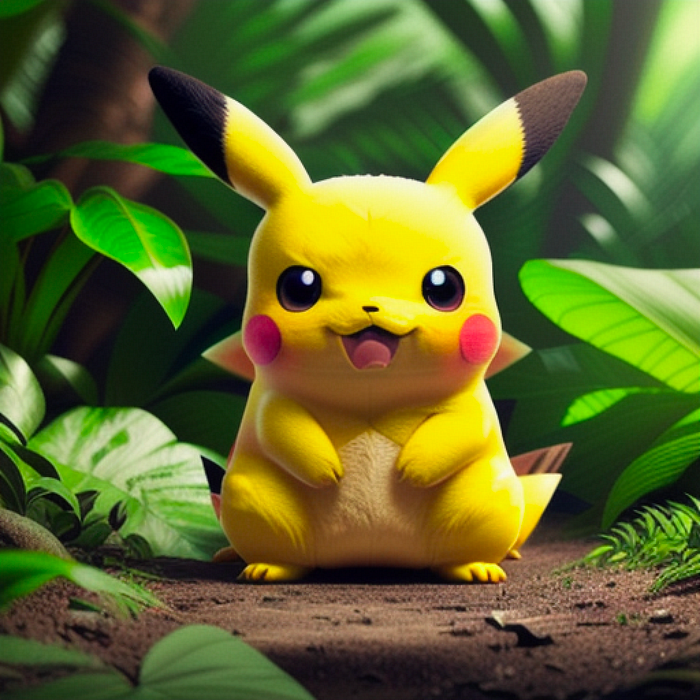
Text to image Stable diffusion UI parameters to get this Pikachu
Sampling method : DPM++2M
Sampling steps : 50
Batch count : 3
CGF scale : 9

Negative prompt  :

bad eyes, blurry eyes, [[disfigured arms]], latex ,[[Deformed]], blurry,
bad anatomy, crossed eyes, poorly drawn face, mutation, mutated, [[extra limb]],ugly, poorly drawn hands, missing limb, blurry, floating limbs,
disconnected limbs, malformed hands, blur, out of focus, long neck,
long body, ((((mutated hands and fingers)))), (((out of frame))),
(((signature))), (((signatures))) blender, doll, cropped, low-res,
close-up, poorly-drawn face, out of frame double, two heads, blurred,
ugly, [[disfigured]], too many fingers, repetitive, black and white,
grainy, extra limbs, bad anatomy
Once you’re happy with your generation, you can go ahead and upscale it, watch the steps here :
Tip 4: Use post-processing techniques
Once your AI tool generates an image, don’t be afraid to use image editing software to enhance the final output further. Apply filters, adjust colors, retouch the image, or even combine elements from different AI-generated images to create a unique piece of art.
Post-processing techniques can help refine the AI-generated image, ensuring it better aligns with your creative vision and meets your quality standards.
Tip 5: Iterate and refine
Creating high-quality AI-generated images often involves a trial-and-error process. Embrace the iterative nature of the process and continuously analyze the results, learn from your experiments, and refine your inputs and techniques.
As you gain more experience working with AI image generation tools, you’ll develop a better understanding of how to leverage their capabilities and generate increasingly impressive images.
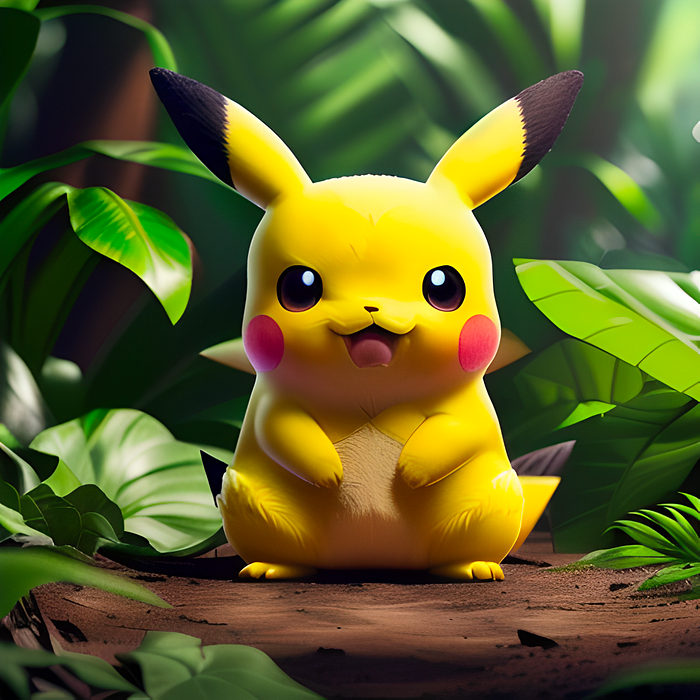
Final result
For more insights, tutorials, and practical demonstrations on AI-generated art, be sure to check out my 🔗 YouTube channel.
Don’t forget to like, subscribe, and hit the notification bell to stay updated on the latest videos and techniques to take your AI-generated art to the next level!