Member-only story
How to Create Motion Graphics Using Photoshop
Only by resorting to Position, Opacity, and Transform transitions, you have plenty of options for a plain motion graphics project
In 2021, motion graphics are trending more than ever. They’re used in advertisements, all over social media, for educational infographics, for YouTube intros, in TV commercials… The applications are immense. They are a very effective way to display visual information in a highly engaging and dynamic way.
If you are a graphic or UI designer you certainly understand the importance of motion graphics and know that you would benefit to learn how to do it. While motion graphics are a very specific skill and it takes years to become an expert on the matter, simple animations and transitions are easy to learn and you don’t even need dedicated software: they can be done in Adobe Photoshop!
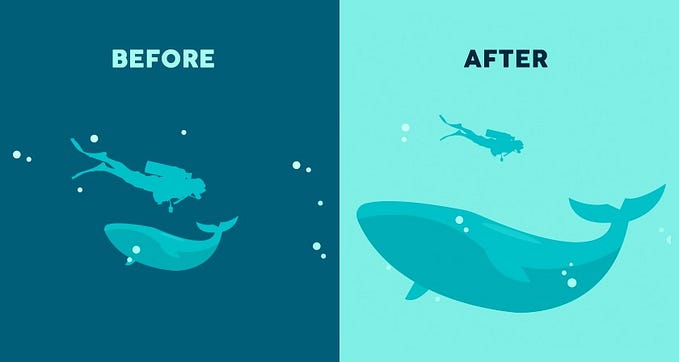
This article will guide you on how to do a very simple motion graphics project only using Photoshop. Here is what the final project will look like:

Excited? Let’s get into it!
Note: This tutorial is targeted at someone who already has basic knowledge of Photoshop. Therefore, I won’t be addressing things like how to create a new layer or rotate a shape.
Initial Setup
The initial setup for your motion graphics project is having every element you want to do independently animate in a separate layer.
Note: I used created my graphics using this project by vectores_gratis, available on Freepik

Timeline is the Photoshop functionality that allows the creation of animations and motion graphics. To make it visible, you just have to select the menu option Window > Timeline.

This makes the Timeline appear at the bottom of Photoshop’s workspace. Initially, it is empty. Click the Create Video Timeline…