Turn Figma design into Code: Lovable vs Anima
The gap between design and development is one of the major problems in product design. All too often, what we have in design and what we have in code are not the same. Depending on the skills of both designers and developers, the gap can be subtle or drastic.
But what I tell you is that we can minimize this gap by using the right tools. And the great thing is that these tools already exist. In this article, I want to explore my process of turning design into code using Lovable and Anima, and share pros and cons of each tool.
Disclosure: I’m sharing my personal experience working with the tools. Your experience could be different, and that’s okay. Also, I’m using the same Figma source design for both tools (Positivus landing page by Olga).
Lovable
Lovable is an AI-powered solution for product creators that promises to go from idea to app in seconds.
Let me walk you through the process of turning Figma design into code using Lovable.
Step 1: Ensure we use auto layout in Figma
We start in Figma. If you want to minimize the number of errors during the export of Figma design to code, you need to ensure that you use auto layout. Ensure that auto-layout is used for all sections of your design.
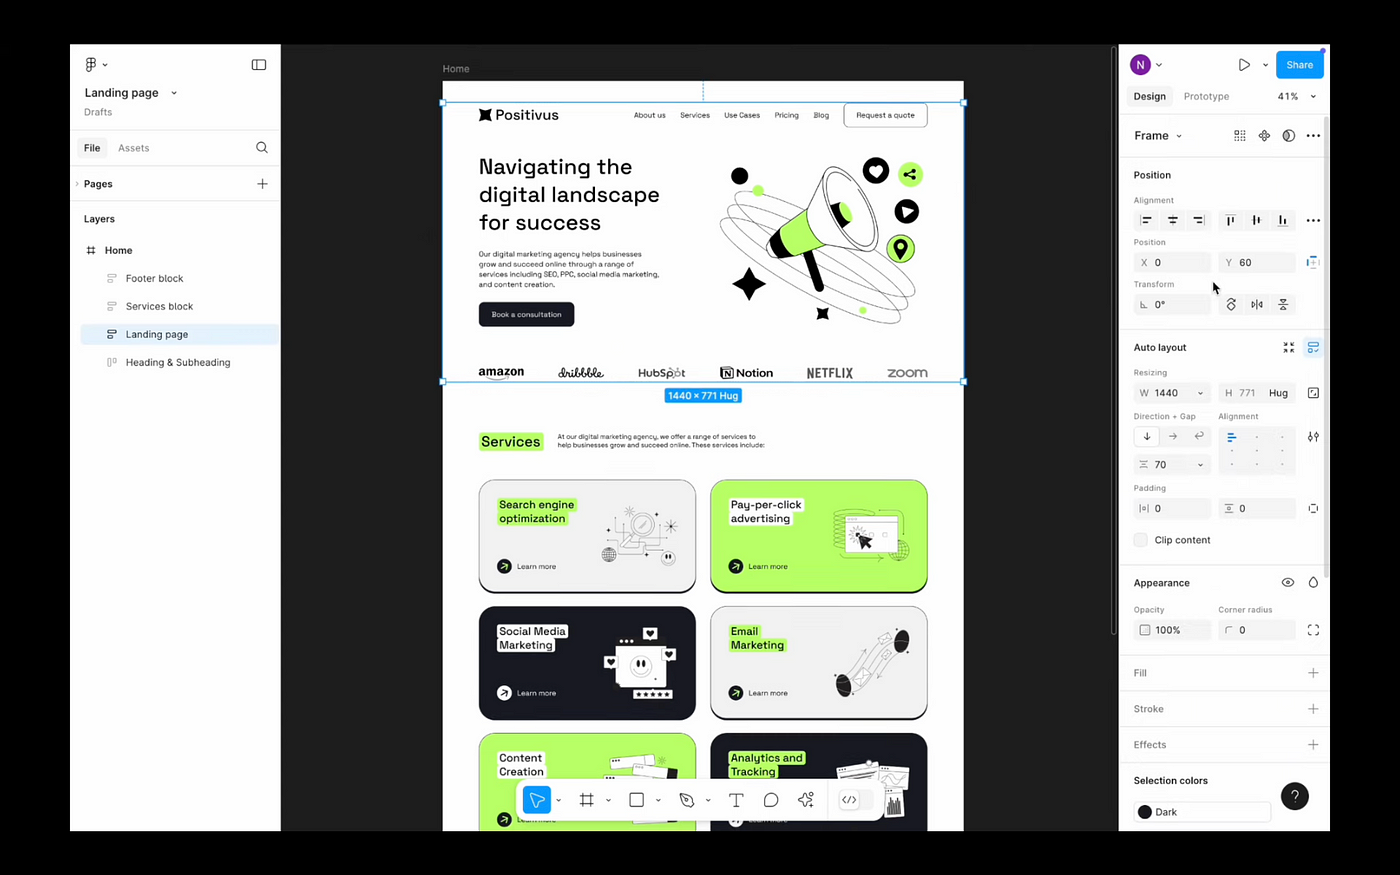
Step 2: Using Builder.io to prepare code for export
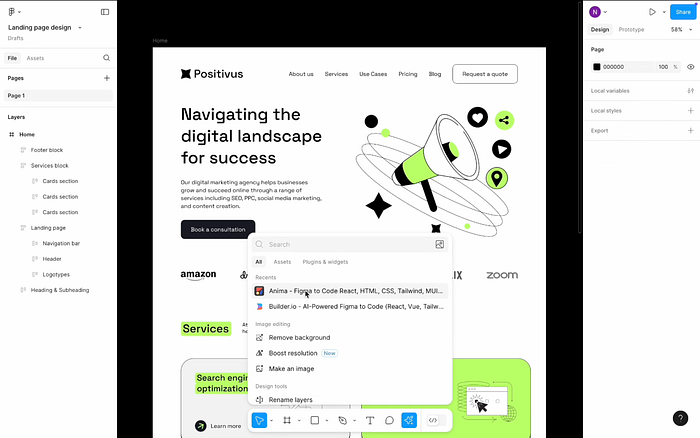
Lovable uses a plugin called Builder.io as an in-between step when exporting design to code. Select a layer you want to export, click on the Actions in the bottom panel, search for Builder.io, and launch it. You should see a preview of your design. Click Export Design.
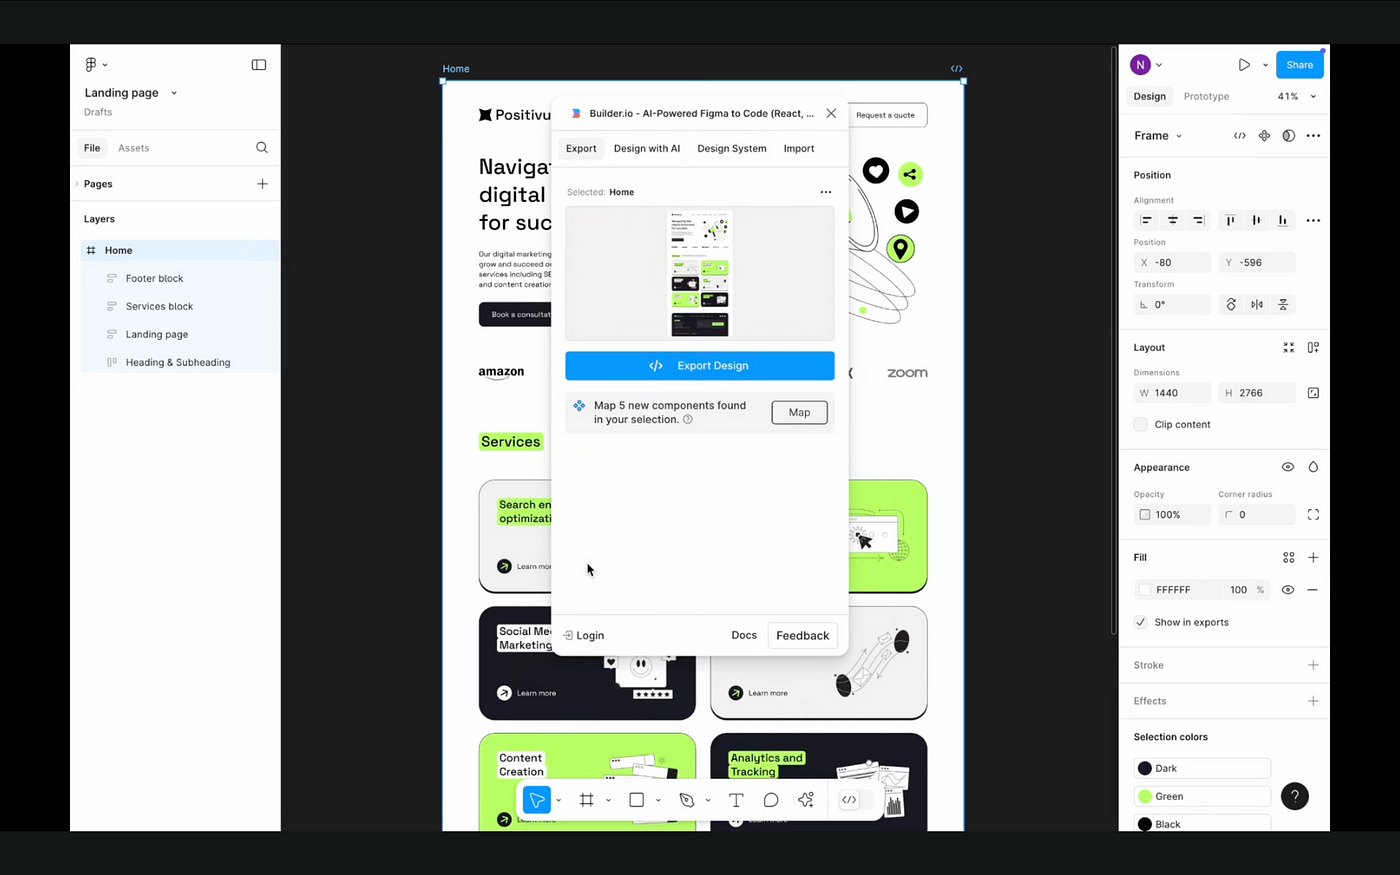
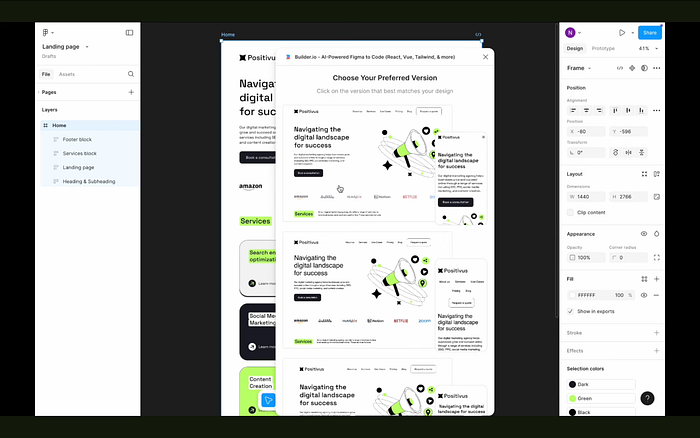
Step 3: Choosing a version of design for export
By default, Builder.io provides 3 versions of design to choose from. The version you choose will be exported to code. Each version can have minor differences (sometimes defects), so at this step, you need to do a visual inspection and select the version you like the most.
Step 4: Exporting design to Lovable and first tweaks in Lovable
After you choose a version, Builder.io will ask you to connect it to Lovable so it can export the design. Once you do it, you will see an in-between state with code export.
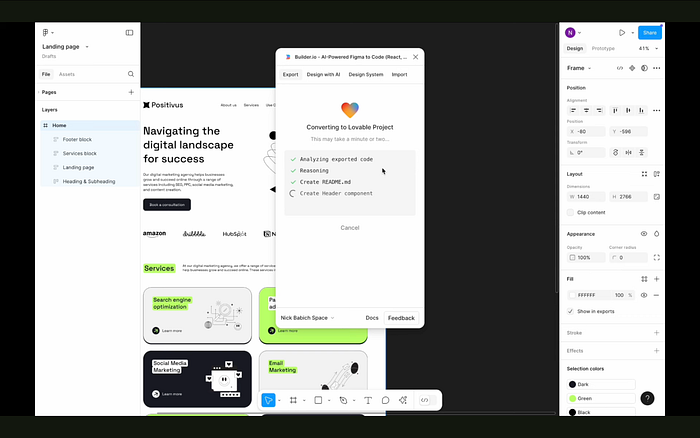
Once the export is completed, Builder will invite you to launch the project in Lovable. When you launch the project, you will see a Lovable working environment in a new tab of your browser. Quite funny is that the Lovable will continue to write the code at this step.
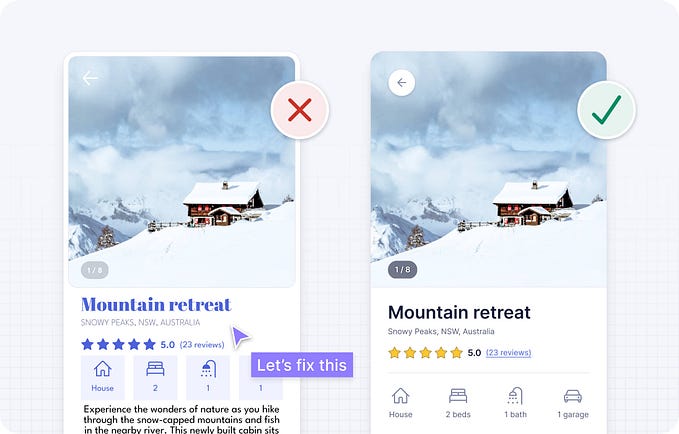
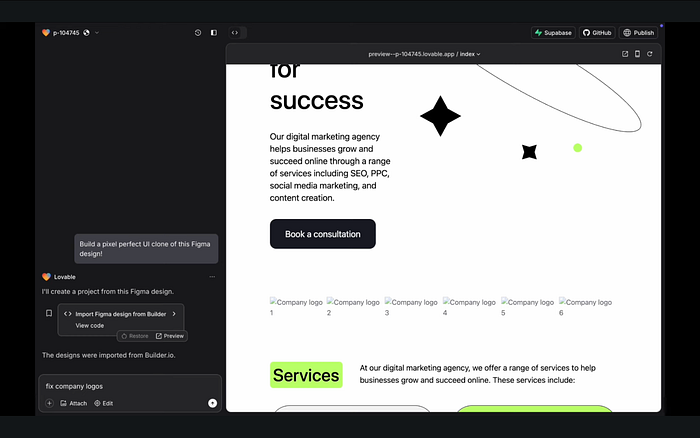
Once the process is finished, Lovable will show you a preview of your design. And quite often, the first take has visual defects. For example, in my case, you can see that the hero image is missing, and the text arrangement for menu options is weird. We didn’t have these defects in the preview that Builder.io generated, so I’m not sure what happened when the code was transferred from Builder.io to Lovable.

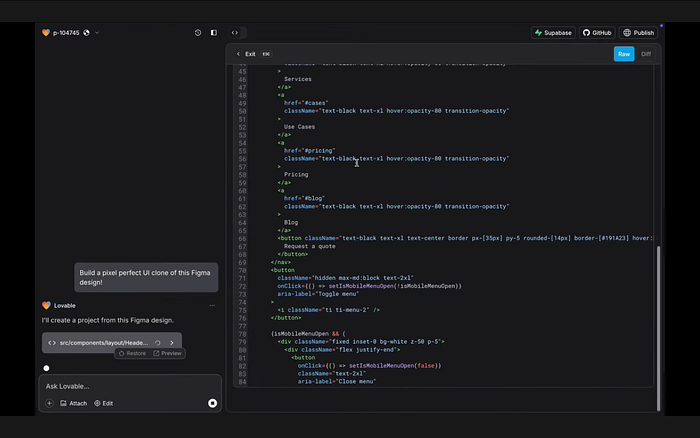
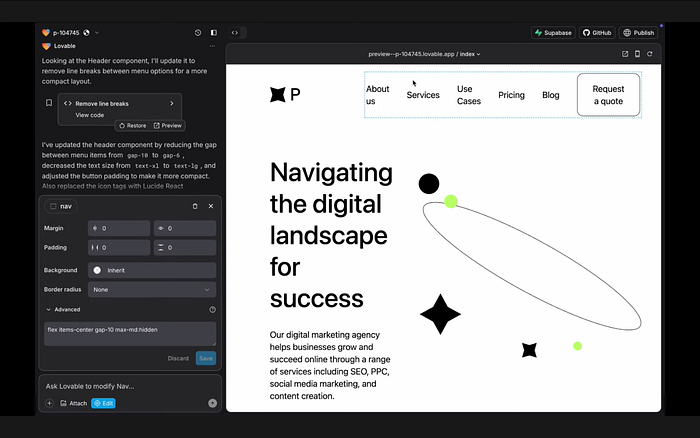
We can use AI to fix the issues. For example, here I’m asking Lovable to fix company logos that were lost during the export from design to code.
Based on my experience working with the tool, AI does not always fully understand what you want to do. For example, for logos, I expected that the system would simply reuse the imagery it already had in the original design. But in reality, it added new logos to the section which looks quite odd. And it also took a few back-and-forths with the AI assistant before I got an okay result (far from perfect, but at least not broken).

One good thing about Lovable is that it allows you to fix some issues in real-time without diving into code or asking an AI assistant. For example, here you can see the paddings for nav. So, I wanted to change the spacing; I could do it in the left side panel for this component.
Pros and cons of Lovable
Pros:
- Simple process of exporting design from Figma to code
- Contextual menus for UI elements that allow edit them without diving into code.
Cons:
- Uses 3rd party tool for export (Builder.io), which makes the entire process long and cranky (I’ve counted 3 times when the Builder.io and Lovable generated code)
- Too many visual defects after the export that you have to fix either manually or via AI assistant
- Average understanding of the context by AI assistant (inability to solve average problems in one take)
Anima
Anima is a tool that has existed on the market for some time and already earned a positive reputation from the design community (especially people who want to use prototypes with interactive 3D objects). Recently, the company released a new solution — Anima Playground — which also helps with transferring design to code.
Step 1: Ensure we use auto layout
Similar to the previous case, we also start Figma, and the first thing that we do is to ensure that we use auto layout.
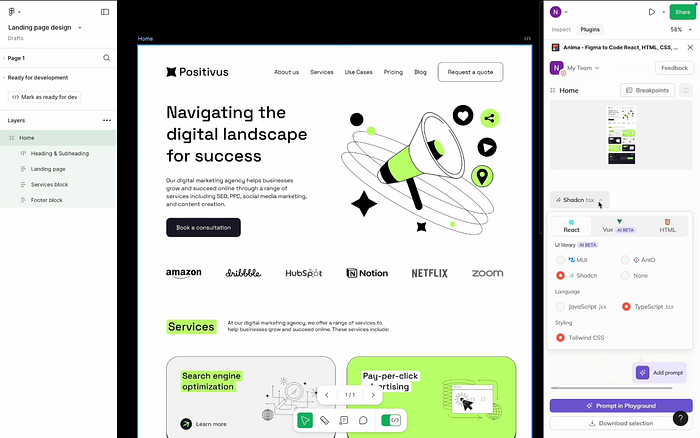
Step 2: Running Anima plugin and switch to Dev mode to export design
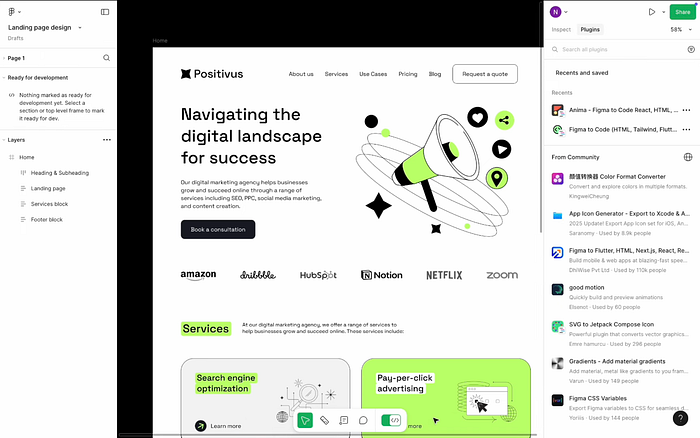
To activate Anima, we click Actions and search for Anima.
Once we do that, we will activate the Anima plugin for this project. We can export the design to code. To do that, we need to switch to the Dev mode and, in the right side panel, select the Anima plugin.
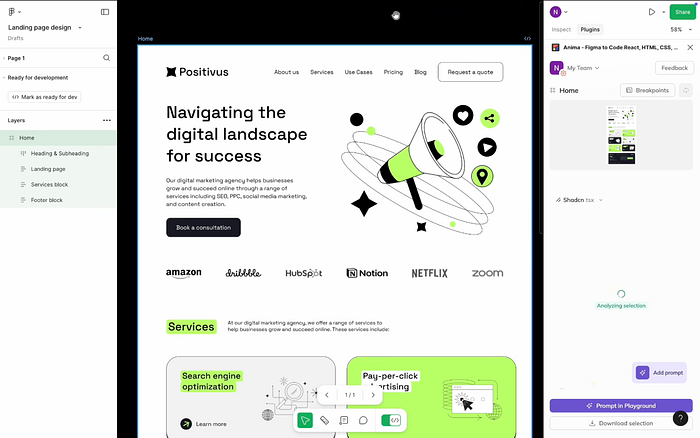
Once you do it, Anima will take the entire right side panel, and you will use its tools. At this point, all you need to do is select the layer you want to export. In my case, I select the entire home page design. Once you do it, you will see a preview of the page in the right side panel and the loading element “Analyzing section” — it all means that Anima analyzes your solution.
Step 3: Choosing tech stack for your project
Anima allows you to select technologies for your project. If you click on a dropdown list in the right-side panel, you will see React, Vue, and HTML.
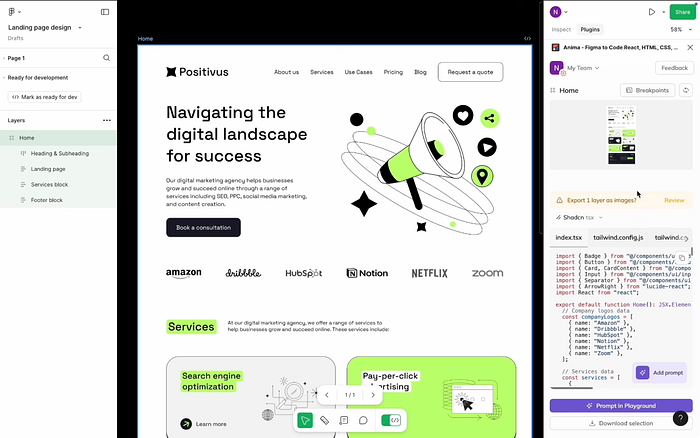
Once you choose a tech stack, Anima will generate a code for you. The time it takes for Anima to generate code is proportional to the complexity of your project — the more complex it is, the more time it will take. In general, it takes around 1 or 2 min. Once done, you will see a preview of the files you can export to Anima Playground — development environment.
Step 4: Exporting project to Anima Playground and project refinement
Once you click Prompt in Playground, Anima will open a new tab in your browser with a dev environment where you will see your project files and the left-side panel with AI assistant. At first, when you see the playground, Anima will be busy preparing the project to launch, so you will see some in-between actions, such as installing packets and running the dev server.
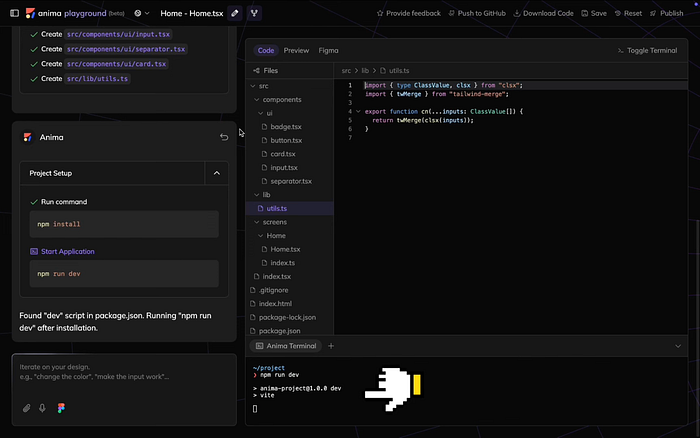
Once Anima finishes it, you will see a preview of your design.

Based on my experience, the tool makes a fewer mistakes during the export in comparison to Lovable. Yet, there still be a chance that something might not look right.
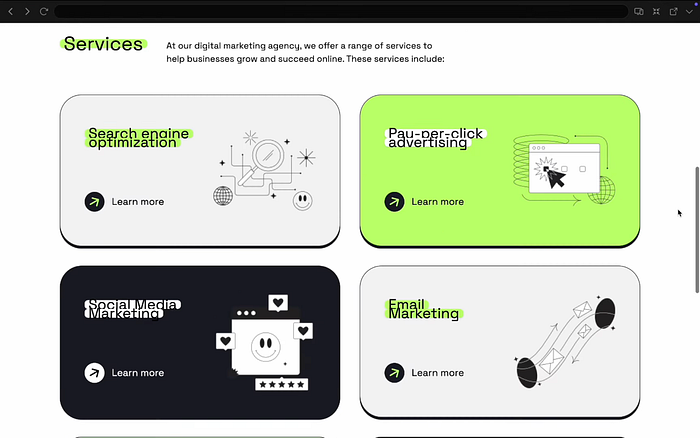
For example, in my case, the cards in the second section aren’t arranged properly.
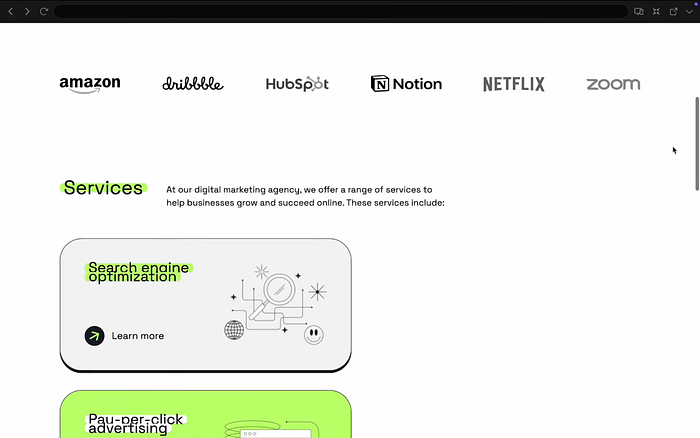
And it’s possible to fix the problems using AI by writing a simple prompt like “fix the grid in services.”

Anima’s AI has a good understanding of context, meaning that it can easily figure out what you need to do even when you provide detailed instructions.
Pros and cons of Anima
Pros:
- Simple process of exporting design from Figma to code (the single plugin does all the job)
- Can choose tech stack for your project (React, Vue or HTML)
- Fewer visual defects after export (in comparison to Lovable)
- AI assistant has a good understanding of context
Cons:
- Still in beta—could demonstrate some instability in tasks like running a dev server
Conclusion
I think that both Lovable and Anima are great tools that help solve one crucial problem — streamline the design process and help us move from idea to implementation faster. I’m really excited to watch what the next big steps will be for both tools, as I’m a real fan of both companies.