
Vibe Coding for mobile with Cursor AI
How to build an iOS app in just a few minutes with AI
Even in 2025, there is a gap between design and development in product design. What we design in tools like Figma and what is implemented in code are two different things. Depending on how good design handoff is handled and the skills of both designers and developers, this gap can be subtle or huge. It’s possible to bridge the gap between design and development when both design and development are handled by the same person. However, this requires coding skills, and not many people in the UI design field have solid skills.
2025 can be the year when this status quo starts to change because there are a few AI tools that will help you streamline product design by doing heavy lifting and writing code for you. Tools like Cursor AI, Lovable, Bolt. These tools are rooted in the concept of using AI to generate a fully functional product. The rapid evolution of AI tools created a new category of specialists — vibe coders — people who don’t have solid development skills and use AI to generate code.
In this article, I will explore the process of creating a fully functional iOS app (stock monitoring app) using Cursor AI. I’ll discuss how to make the most of co-creation with AI and mention the key downsides of this approach at the end of the article.
What you need to have to build iOS app using AI
You will need 3 things:
- Macbook or iMac
- Xcode. Its an integrated development environment for macOS, used to develop software for macOS, iOS, iPadOS.
- Cursor AI. Cursor AI is a development environment with AI agent that is used to generate code.
Step 1: Create a new project in Xcode
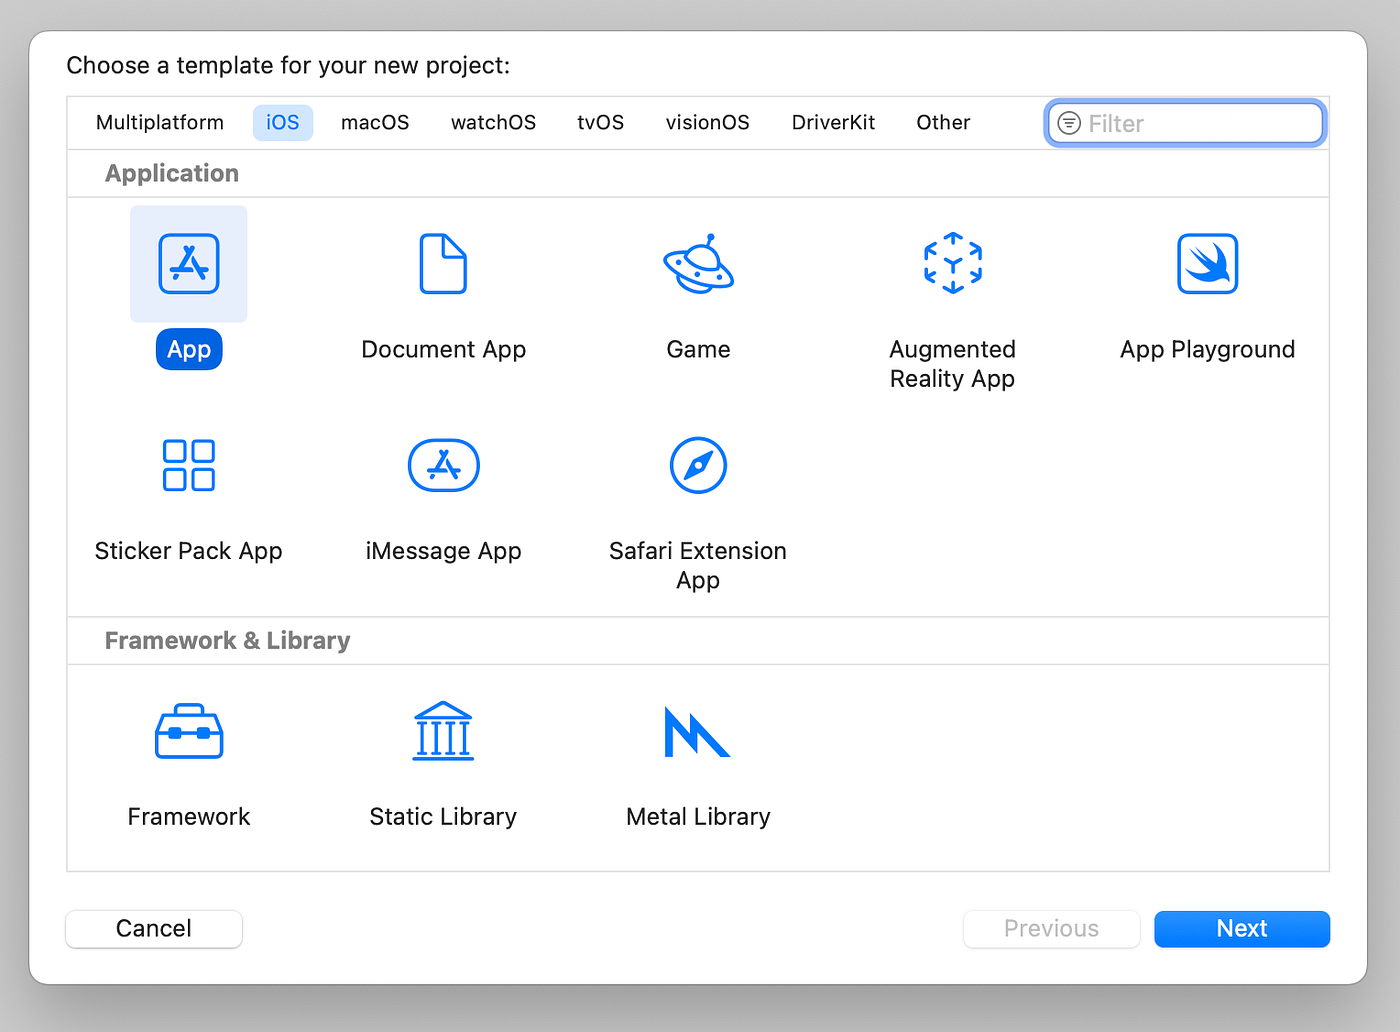
The only thing that you need to do in Xcode is to create a new project. Navigate to iOS tab and click app:
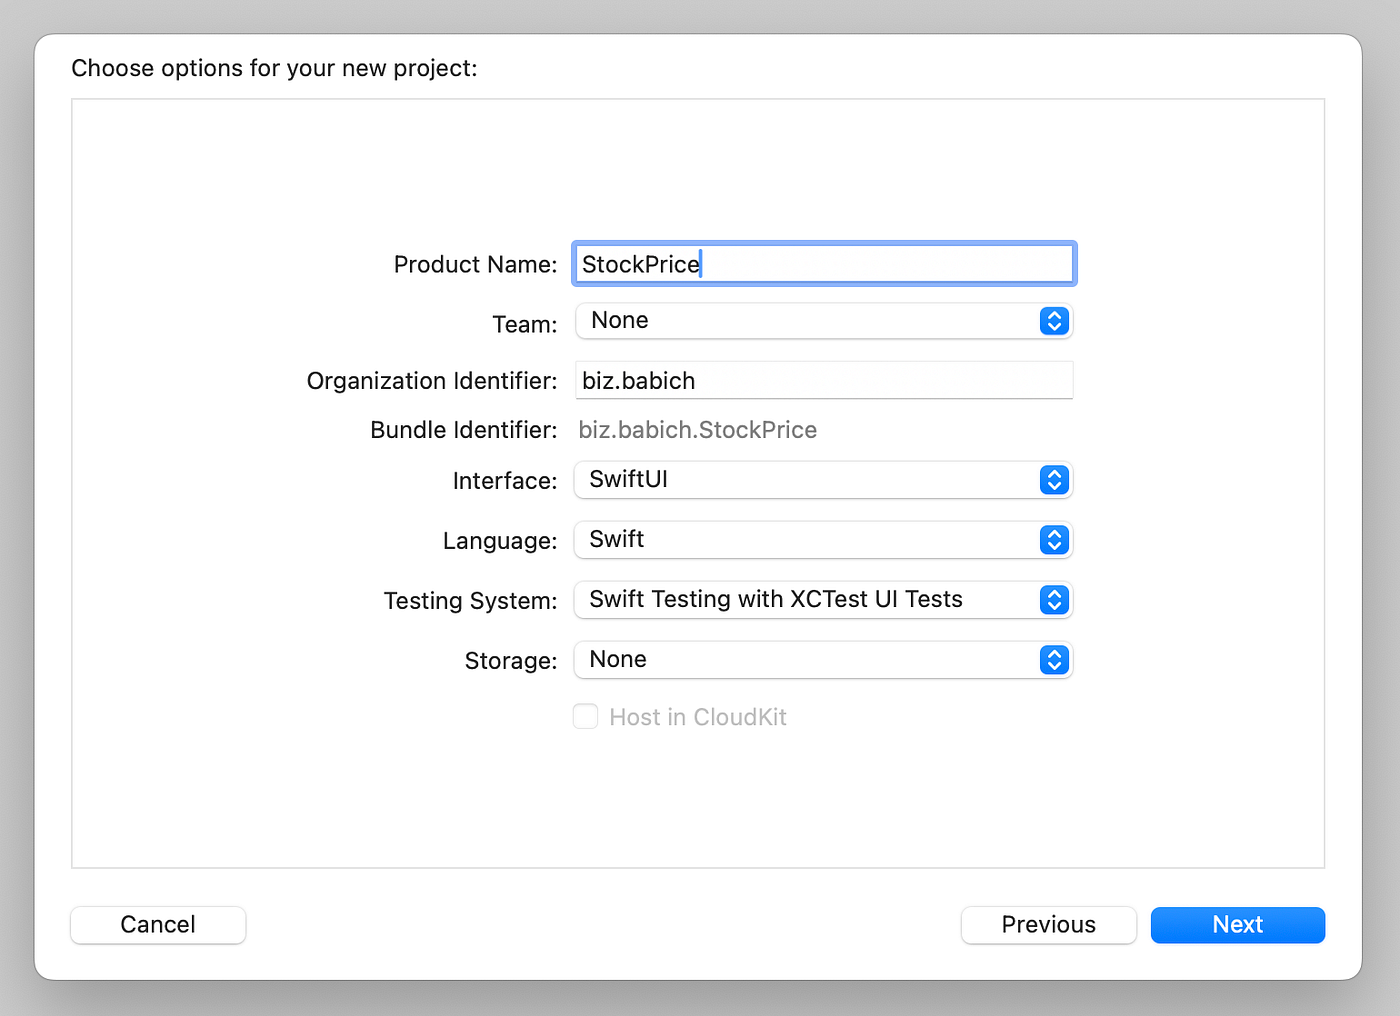
Once you will click Next, you will need to name your project and choose where you want to store it.
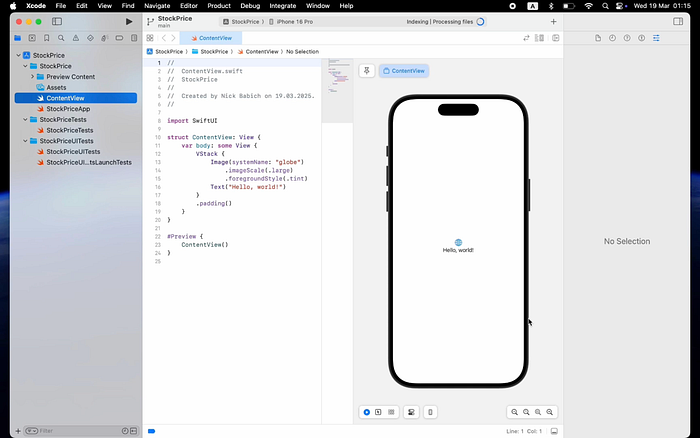
The project that Xcode creates will be barebones—it will have only essential files and one screen (iOS uses a concept of view, so technically it will be one view ContentView with Hello World in it). Ensure that Xcode can build the project and its visible in a preview.
Once you create a project and ensure that Xcode can build it, you can jump to Cursor AI to generate code.
Step 2: Opening iOS project in Cusror AI
Once you open the project in Cusror AI, you will see your working environment. If you previously used an IDE like Visual Studio Code, Cursor AI will look very familiar to you. Basically, it’s a design of VS code with an extra layer of AI added to it.
Most of the time, you will interact with 3 panels:
- Left-side panel is a project files tree
- Bottom-side panel is a terminal.
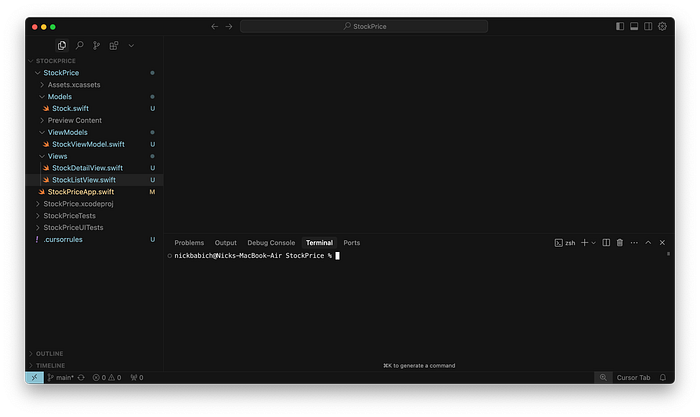
3. And right-side panel is a panel with AI assistant.
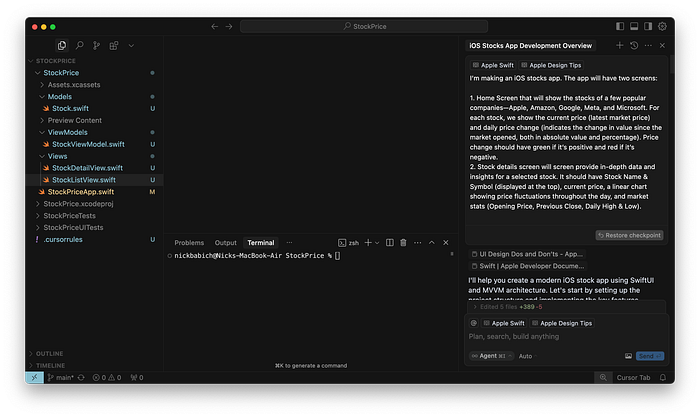
All magic will happen in the third panel — the panel with an AI assistant. We will prompt the AI agent to generate code. As you can see in my example, I’ve provided a prompt for building a stock price app. Once I press Send, AI agent will perform the task and generate code for me.
Step 3: Making the most of Cursor AI
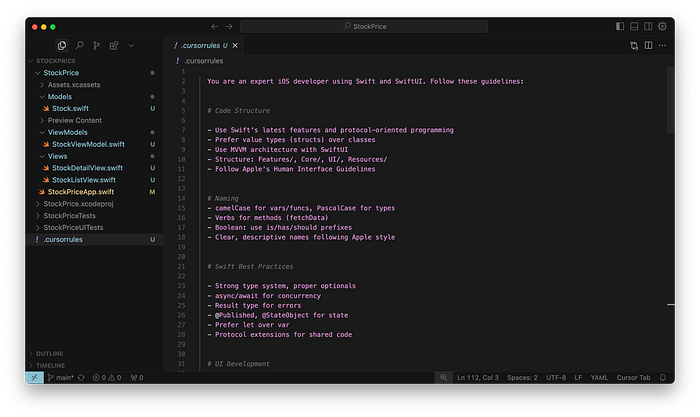
Before sending your first prompt, you need to check a few things to make the most of cursor AI. First, be sure to add the .cursorrules file, where you provide specific instructions that Cursor should follow when writing code. Since I’m building an iOS app, I will provide instructions for SwiftUI.
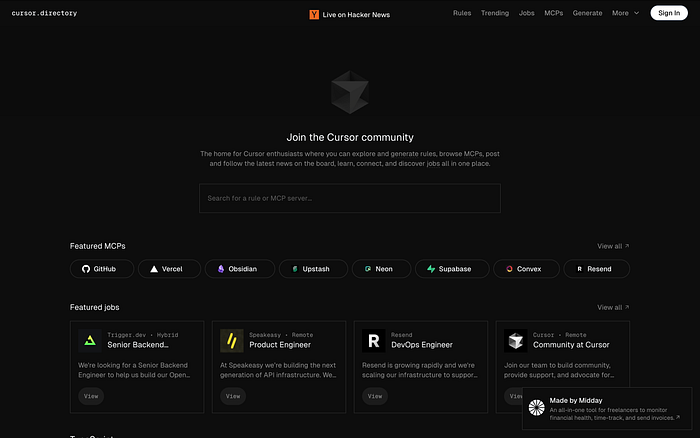
If you’re wondering what you should write in this file, I have solutions for you — either write what you think makes sense to your project or use instructions written by the Cursor community. A good place to go to search for such instructions is Cursor.directory. Simply type the technology you want to use for your project in the search field, and you will find ready-to-use rules for your project.
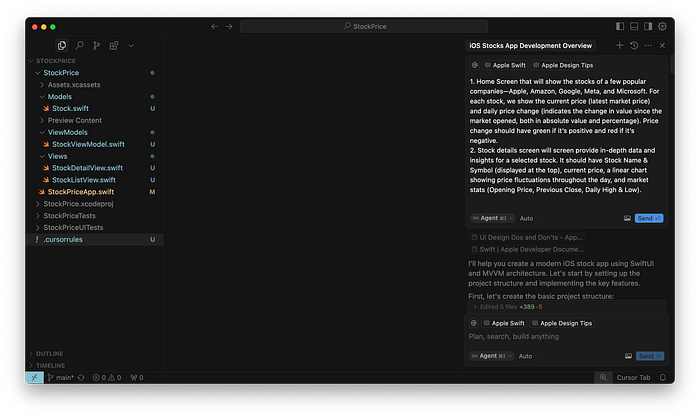
Another thing that you need to do is provide developer documentation and best practices for specific areas of your design. You can do this by tagging the Docs in the Agent window. In my case, I’ve tagged Apple Swift and Apple Design Tips documents (check the top right corner).
There are two ways you can add a new document. Either press Add context, choose Docs and click Add new doc.
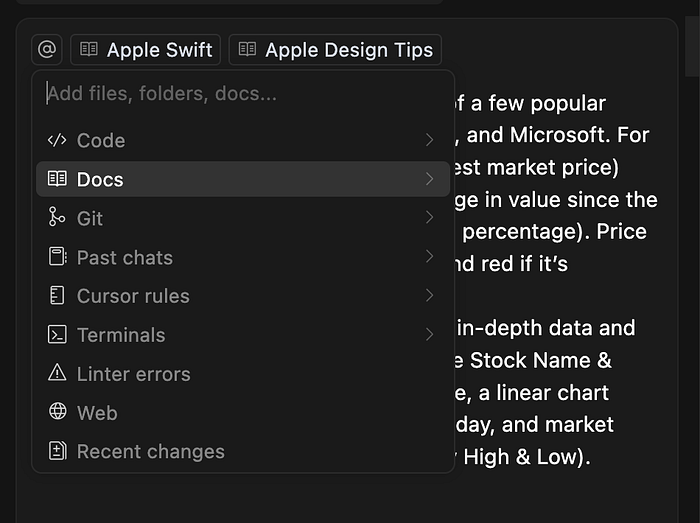
Or click the Gear icon, navigate to the Features tab, and scroll down to Docs.

Finally, you need to add the docs to the context simply by clicking on the docs you want AI assistant to use when generating code.

Step 4: Generating code with AI
Once you add project rules to Cursor and docs to context, it’s time to generate code using AI assistant. It is by far the most challenging part of the process because you need to clearly formulate what you want to build a why.
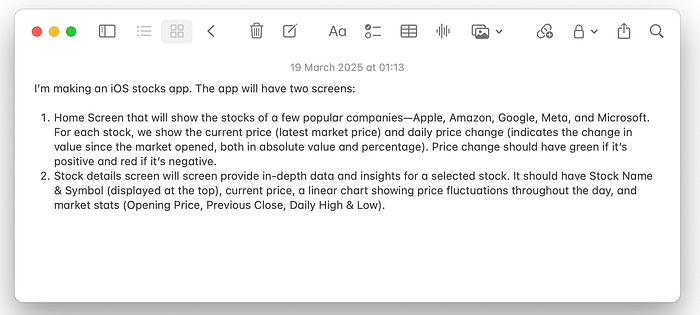
The prompt you submit to AI agent should:
- Clearly explain what you want to build (what your app is all about);
- What screens will that app have and how they will be connected;
- Provide information about content and functionality individual screens should have.
You need to understand that there is a low chance that AI will build a perfect app from the first attempt. So be ready to iterate and refine both your initial prompt and follow-up prompts.
Once you submit the prompt, Cursor will start to generate code for you. The great about Cursor is that you, as a user, have full control over changes. You can either accept or reject individual changes provided by the Cursor, and only when you accept them will the Cursor change actual files.

You can navigate back to Xcode to see the results that Cursor generated.

Step 5: App refinement and iterative design with AI
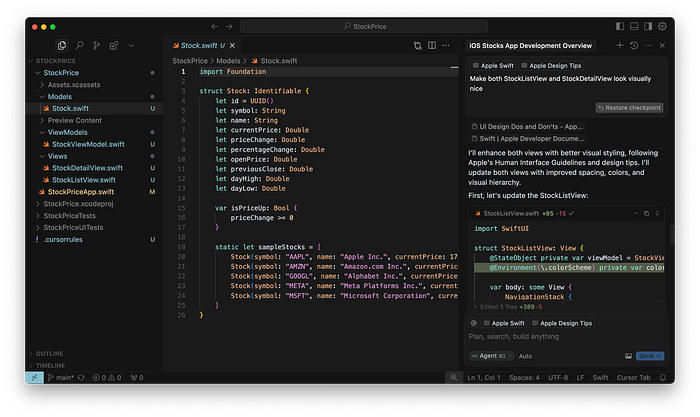
As I’ve mentioned before, there is a low possibility that you will get a final solution right from the first attempt. So you will need to provide additional prompts to Cursor to refine the app. Potential areas of refinement can be — improving business logic (adding/removing content or functionality) and visual refinement. For example, below is my attempt to make the app look visually pretty. You can see that I use a simple prompt, “Make both StockListView and StockDetailsView look visually nice,” and Cursor clearly understands my intention.
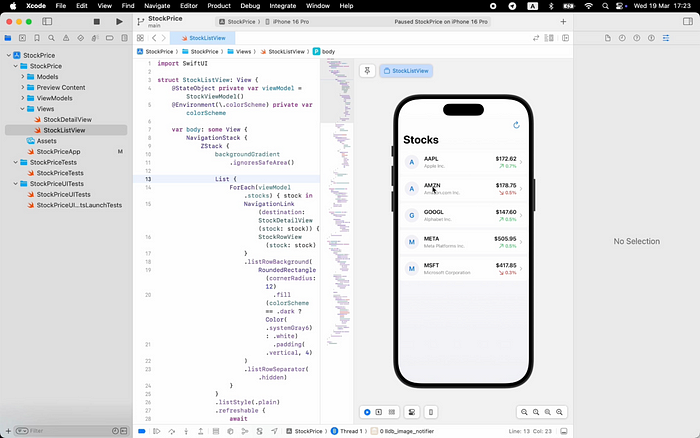
If you navigate back to the Xcode, you will see the changes that Cursor introduces makes the app look visually more polished.
FAQ about Cursor AI & vibe coding in general
Q: Can I use Cursor AI to build an entire app without learning coding skills
A: My honest answer is No, at least not at this moment. Cursor is a very good co-creator, but you still need to drive the bus and validate the quality of the code generated by Cursor.
Q: Can I use Cursor to build complex apps with sophisticated business logic?
A: You can try, but it will likely require a lot of back-and-forth between Cursor AI and Xcode. You will need to refine both your prompts and be ready to dive into code to refine details. Based on my experience, Cursor is good for building simple products (like the StockPrice app I’ve shared here) and as a contextual helper when you have a particular task at hand (i.e., want to refine a design of a particular screen in your product).
Q: Do you think skills in using Cursor AI or similar tools will be must-have for UI designers?
A: Yes, I do. Vibe coding will be an important part of the UI designer job in the future; we will practice vibe coding when building initial designs, and this will help bridge the gap between design and development.